
You may have played around with Java in the JetBrains IntelliJ IDE environment. If so you may have come across JetBrains’ own language Kotlin, an expressive language which leverages all the power of running a statically typed language on the JVM (compatible with all the Java libraries to boot), but with a lot of the expressive features we’ve come to know and love about languages like Ruby and Javascript. Let’s set up a Kotlin project in IntelliJ and start doing some TDD!
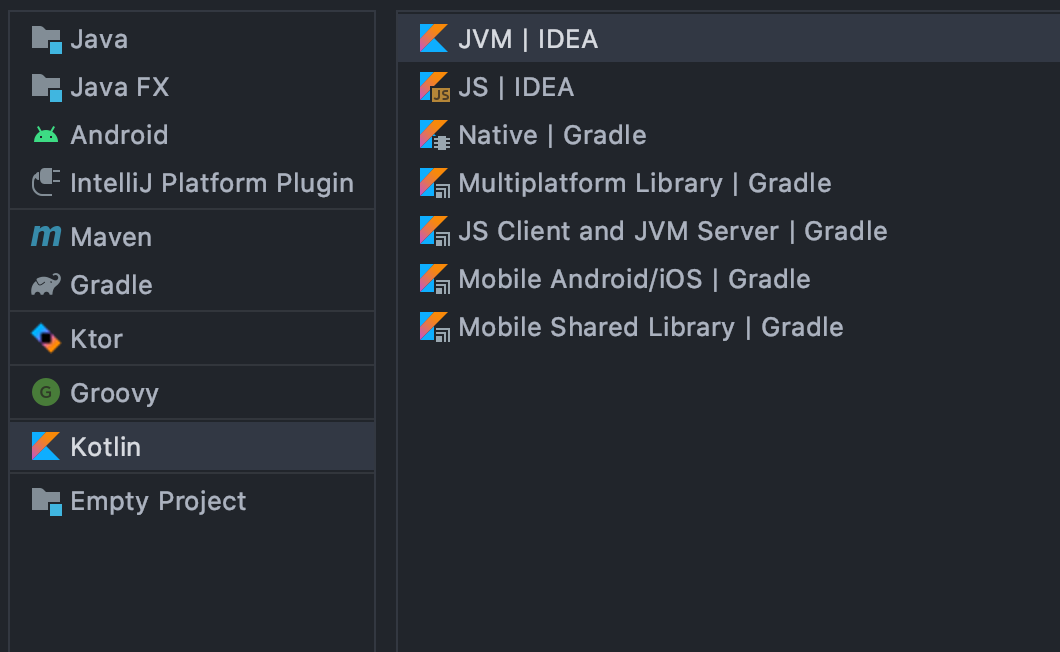
On Booting up IntelliJ, you have the ability to build a vanilla Kotlin Project straight from the selection screen. Make sure you have the JVM|IDEA option selected. The second screen will allow you to save the project under your preferred directory with a given name and we’re immediately up and running.
You can make Kotlin files in the same way you would do Java files in IntelliJ by right-clicking on the src folder and navigating to src -> New -> Kotlin File/Class (Kotlin has the ability to just make packages for more functional-style programming, more on that in the future!).
Where my tests at?
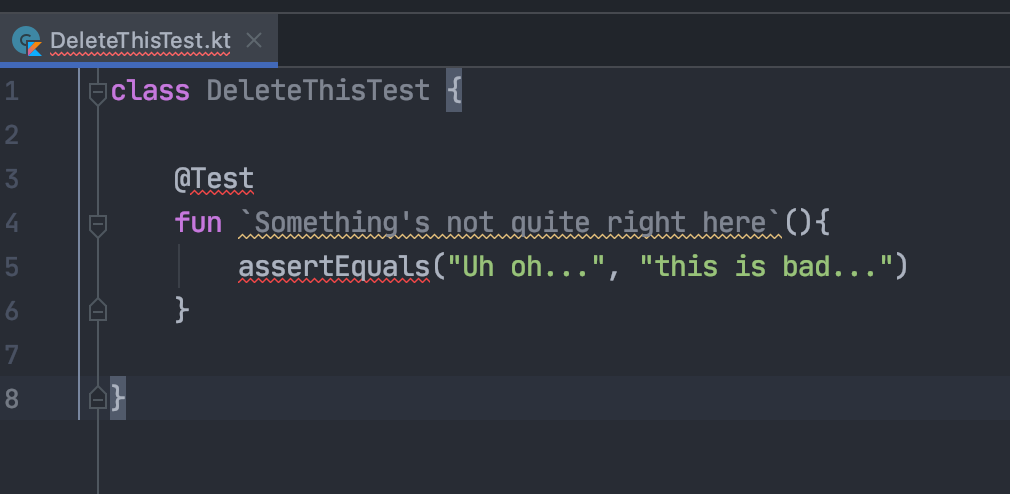
When creating a test class to write some unit-tests, you’ll see pretty quickly that IntelliJ doesn’t seem to recognise test annotations… or anything that you may have used when setting up a Java project.
This is because the vanilla Kotlin project generation doesn’t have any project dependencies added! Luckily IntelliJ does have the JUnit library as part of its install, we just need to add it manually:
To set up JUnit tests in IntelliJ step through the following:
- Navigate to
File -> Project Structure -> Modulesand select the dependencies tab - You should see that there are no dependencies outside of the JDK and the source code, so click the + symbol to add a dependency which is under ‘JARs or directories’
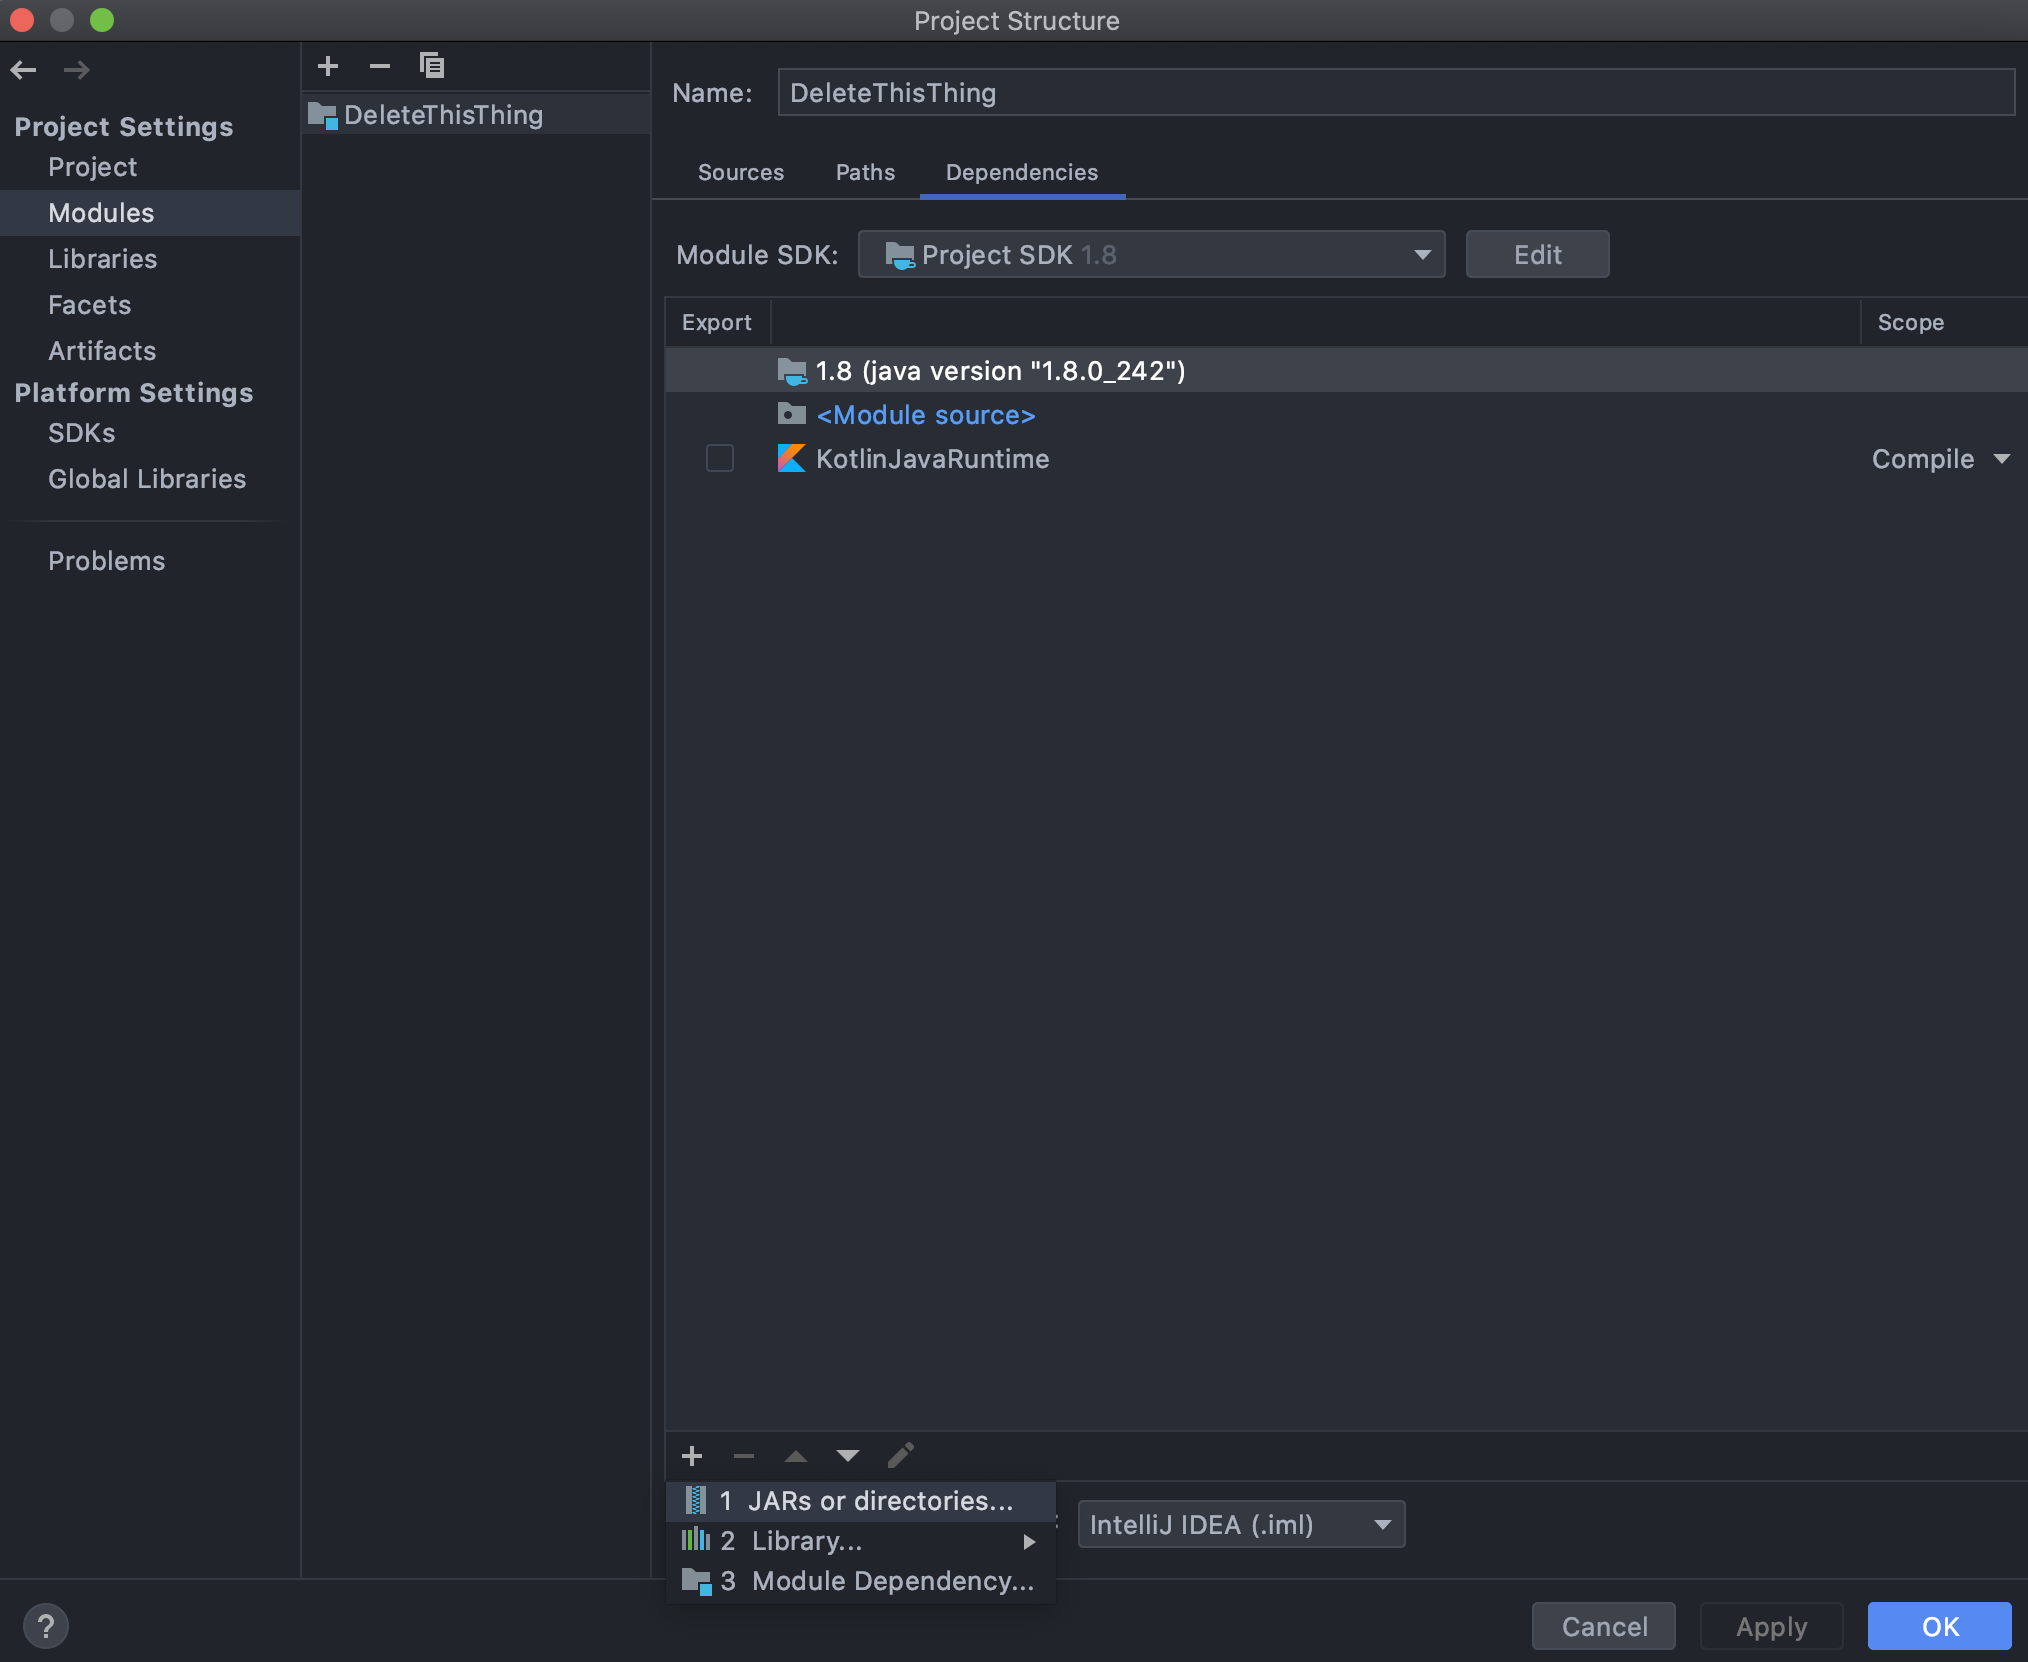
- This will open up the file explorer for your machine, navigate to the installation directory for IntelliJ - (for Mac users this will be under Applications, Windows users will likely see it under Program Files)
- Once there you are looking for the lib sub-folder. This will contain a whole bunch of libraries already installed with IntelliJ, from there you are looking for two libraries:
- junit-4.12
- hamcrest-core-1.3
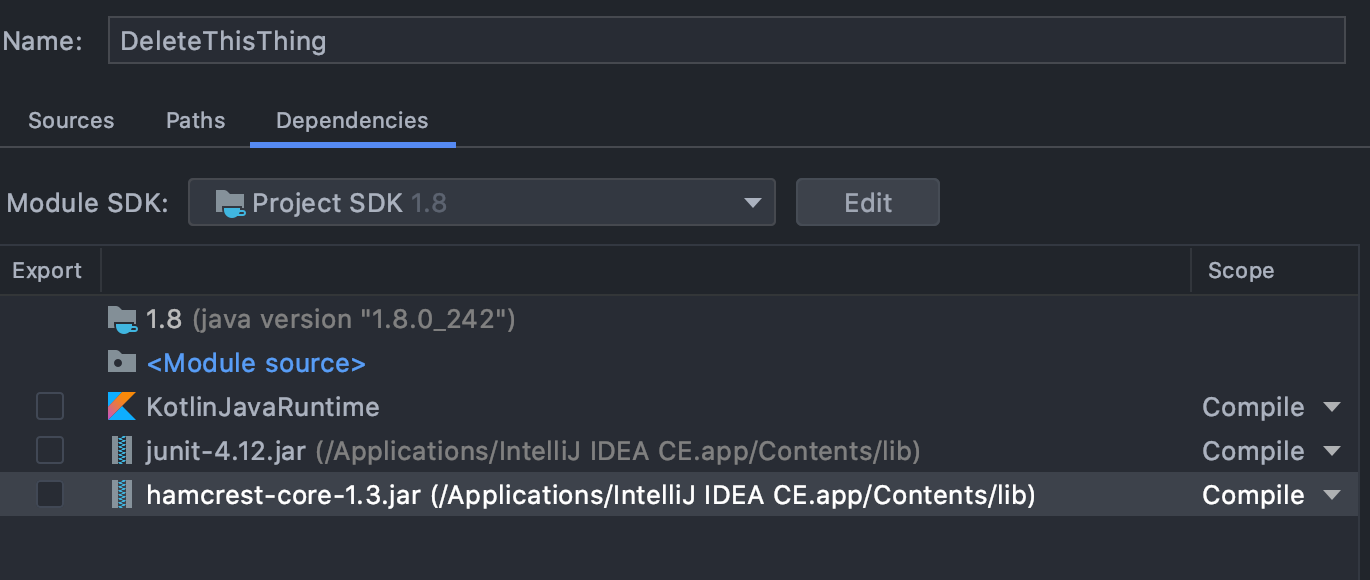
You may need to select these individually but they should both be present in the dependencies dialogue box. Once there click ok and you should have the ability to import JUnit into your Kotlin project (IntelliJ’s auto-suggest is pretty powerful).
And there you have it - a powerful way to start noodling in Kotlin.