Elixir is a really powerful functional language for web development, and the community have built a plugin for all the Jetbrains products so you can build using their powerful IDEs. Here’s how to set up Elixir in IntelliJ:
Before starting - make sure you have a working installation of Elixir on your machine (for now, according to the IntelliJ plugin docs this ideally should be done via Homebrew on a Mac). This will bring in both Elixir and the underlying Erlang Virtual Machine (BEAM) which Elixir runs on:
elixir --version
As Elixir runs on the BEAM - we need to be able to detect our Erlang install as well as our Elixir install in IntelliJ. For this, we need to install two plugins via IntelliJ IDEA -> Preferences -> Plugins - firstly the underlying Erlang plugin, then secondly the Elixir plugin. Both of these are required to pick up the installed instances to form the SDKs on IntelliJ.
Once you have these plugins addsed - we can go ahead and create our first Elixir project on IntelliJ. The following screenshots are from IntelliJ Community Edition 2020.3:
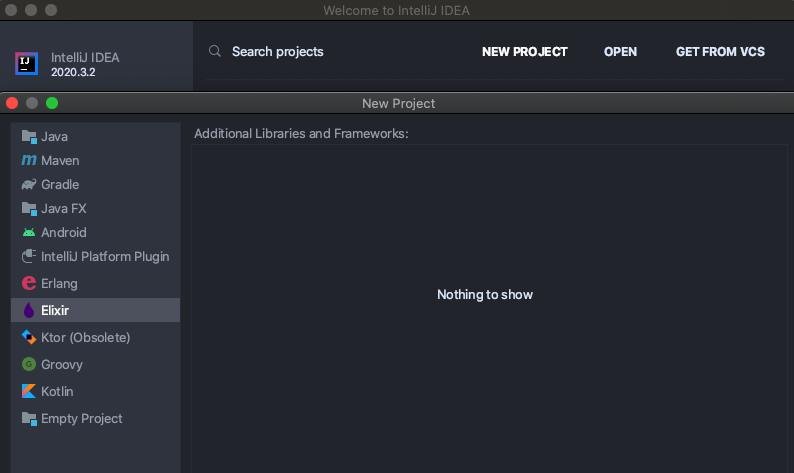
Open IntelliJ and select New Project - you can then select an Elixir project. With the Ultimate Edition, you can also select database support:
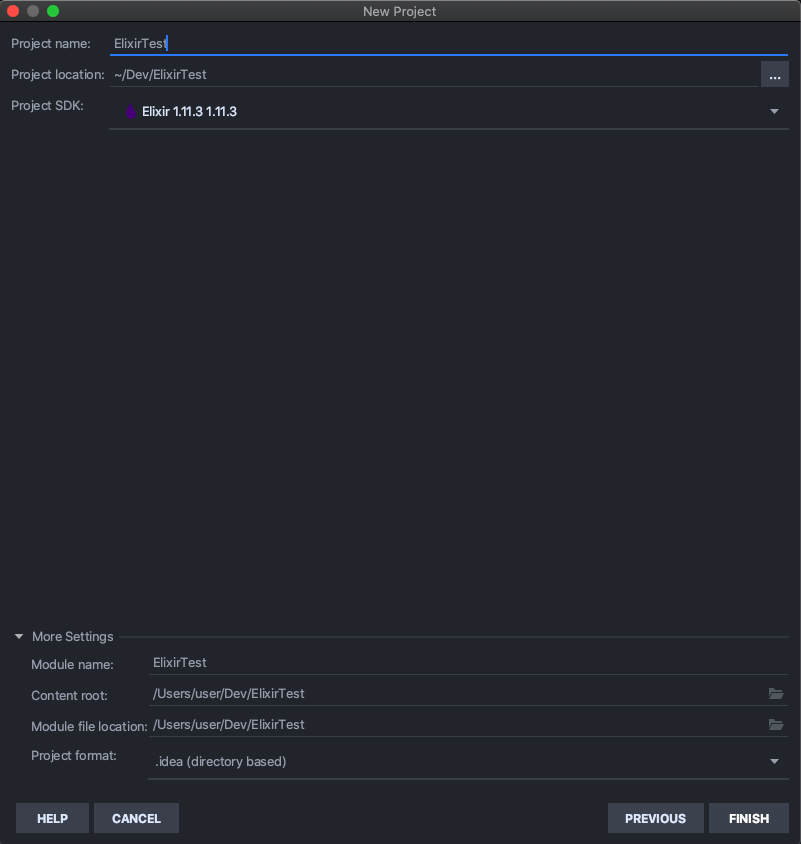
After that you’ll be prompted for an Elixir SDK. The plugin should detect your Elixir install - and you can even set this as a default for future projects:

After that you can enter the project details and hit Finish
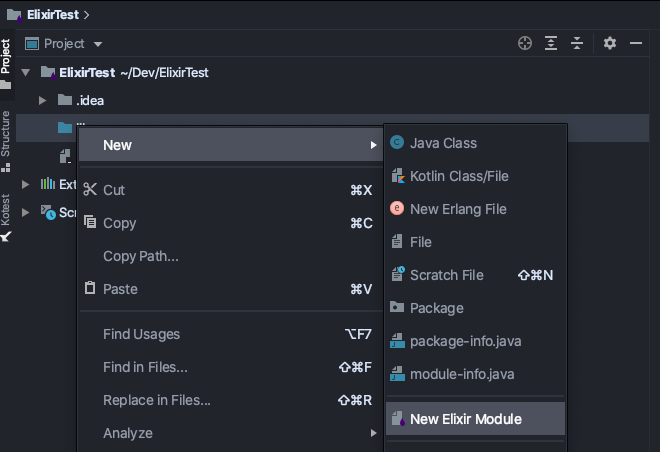
Once the project has been loaded you’ll see a simple project folder with a lib folder for your files and and IntelliJ configuration .iml file:
.
├── ProjectName.iml
└── lib
Let’s go ahead and add a file to the lib folder and just get it to print to the terminal
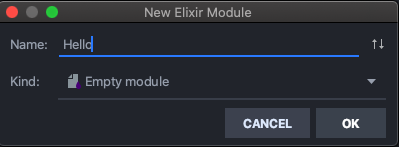
lib/hello.ex
defmodule Hello do
  @moduledoc false
  IO.puts "Hello my name is Inigo Montoya"
end
We now need to configure our project to run the file. This can be found at the top of the window or under Run -> Edit Configurations. We need to select the Elixir configuration and add the path to the file as well as the file name in the correct fields:
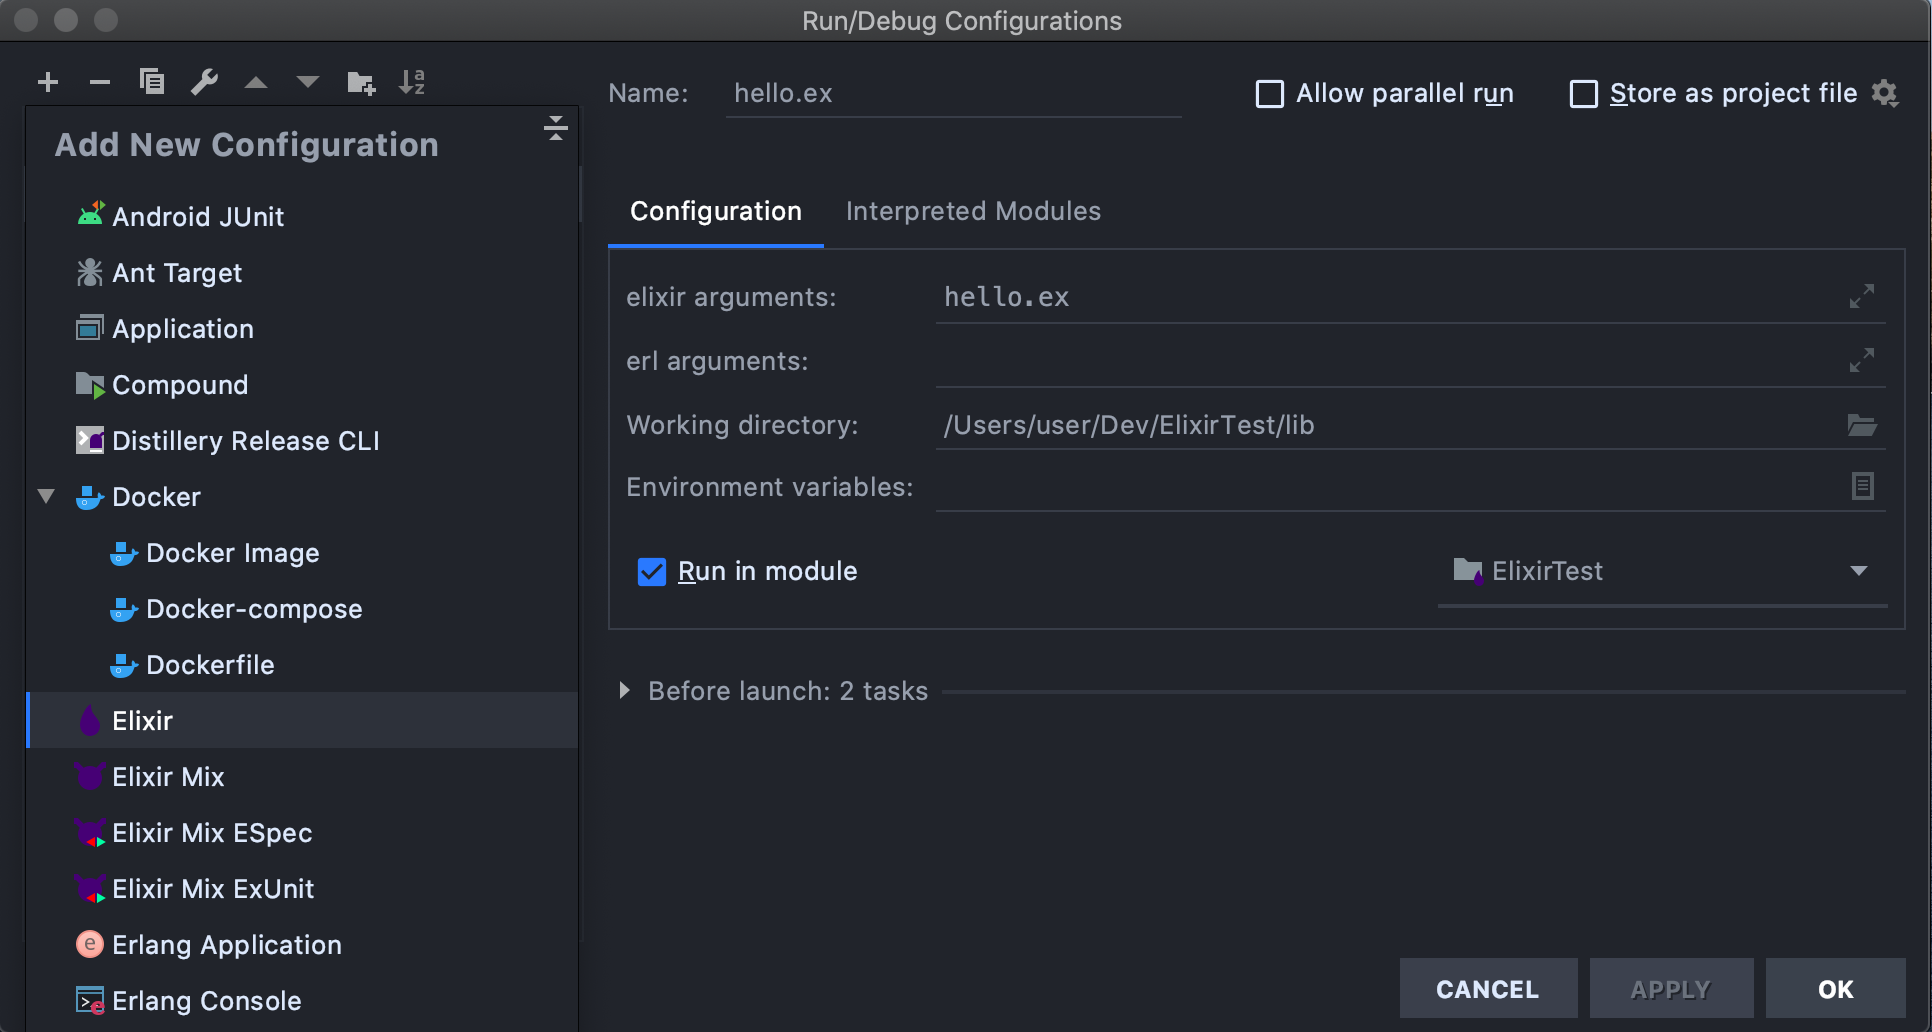
Go ahead and run the file to see the text printing on the screen!
Working With Phoenix?
The plugin supports the Phoenix web framework too. You need to install Phoenix and start a new project from the command line. This will build your project and its dependencies.
Opening up the project with the Erlang and Elixir plugins installed, IntelliJ should automatically setup the project with the Elixir SDK. If not, you may need to adjust this under File -> Project Structure -> SDKs
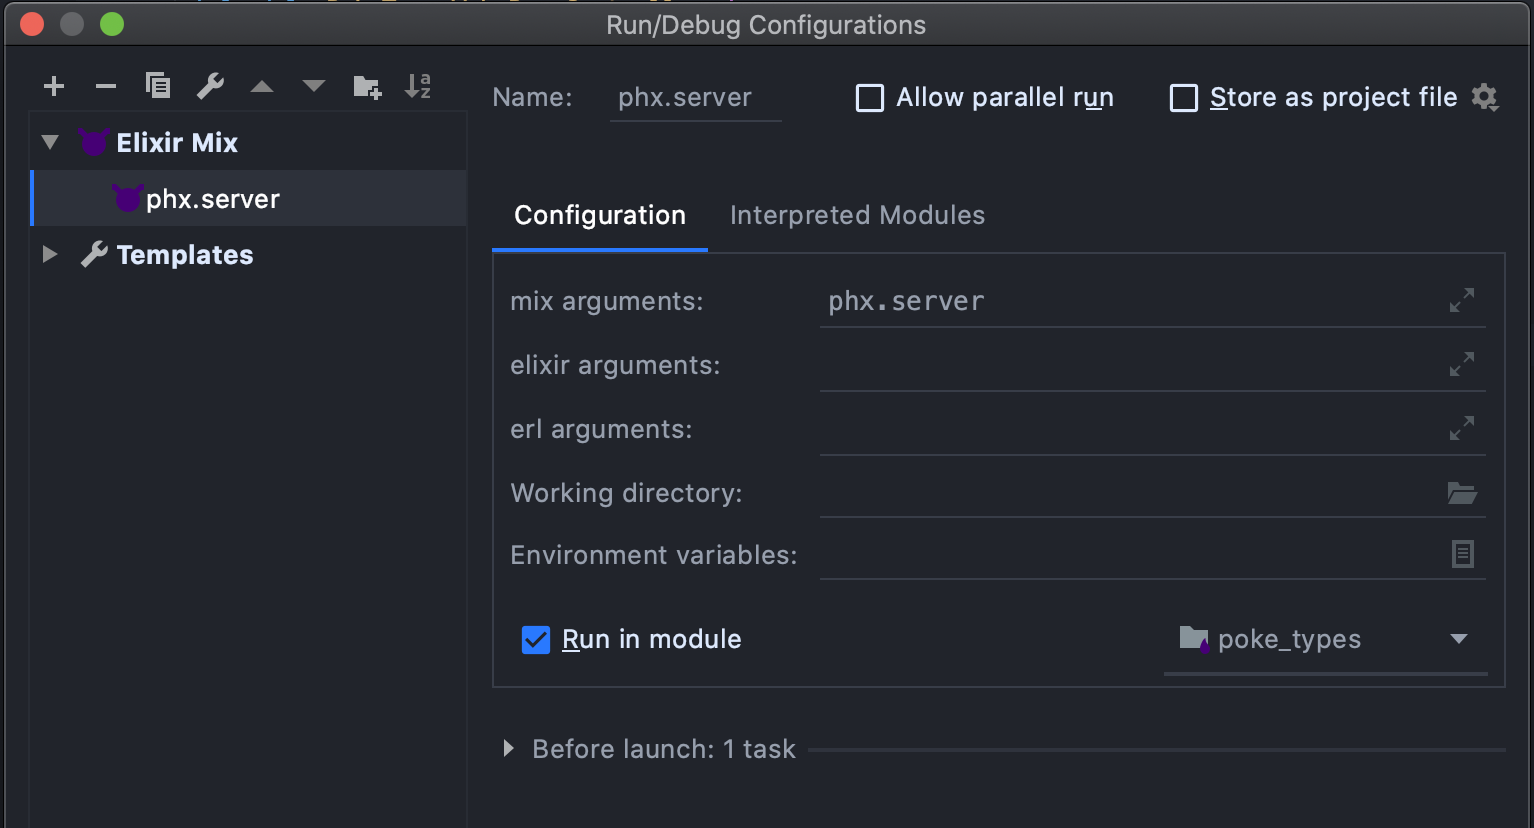
Like an Elixir project, we need to set the configuration - but this time we need to select Elixir Mix because we need to run a mix command instead of a file. Enter the phx.server into the mix arguments field. With that set up you should see your Phoenix app running in IntelliJ.
I Got Errors!
The plugin isn’t perfect and might not run correctly first time. Here are couple of avenues to consider when bug fixing:
If there’s a general error around not finding the file/module, you may need to run File -> Invalidate Caches/Restart to kick off IntelliJ’s indexing again.
If it can’t find the Erlang SDK you can confirm if the Erlang Plugin picked up your install by navigating to File -> Project Structure -> SDKs -> Elixir

